Continuing with the course, this time I made a packaging design for a fictional cookie brand. The first step was to open Adobe Photoshop to edit the photo of the cookies. I learned a few tools to separate them from the background and enhance the lighting. Then I added mint leaves, cutting them out from a photo.
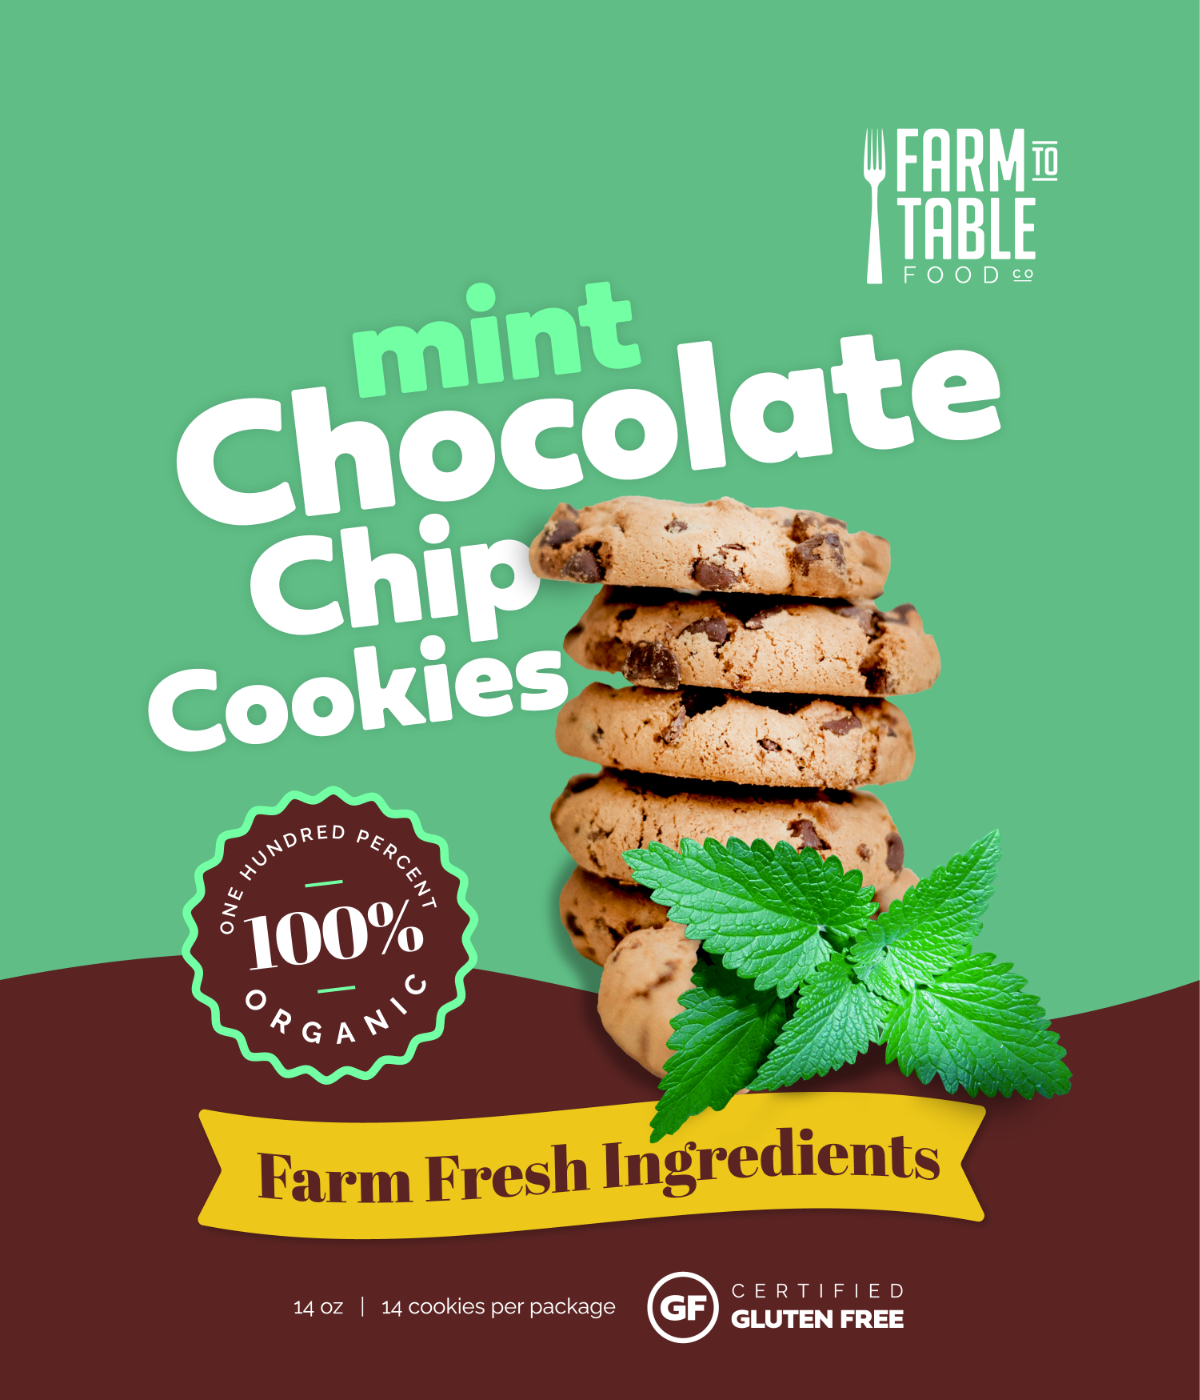
After that, I placed the photo of the cookie and the mint leaves in Adobe Illustrator and started designing the front of the package adding various shapes and fonts, and using the badges and logo created in the previous section too.
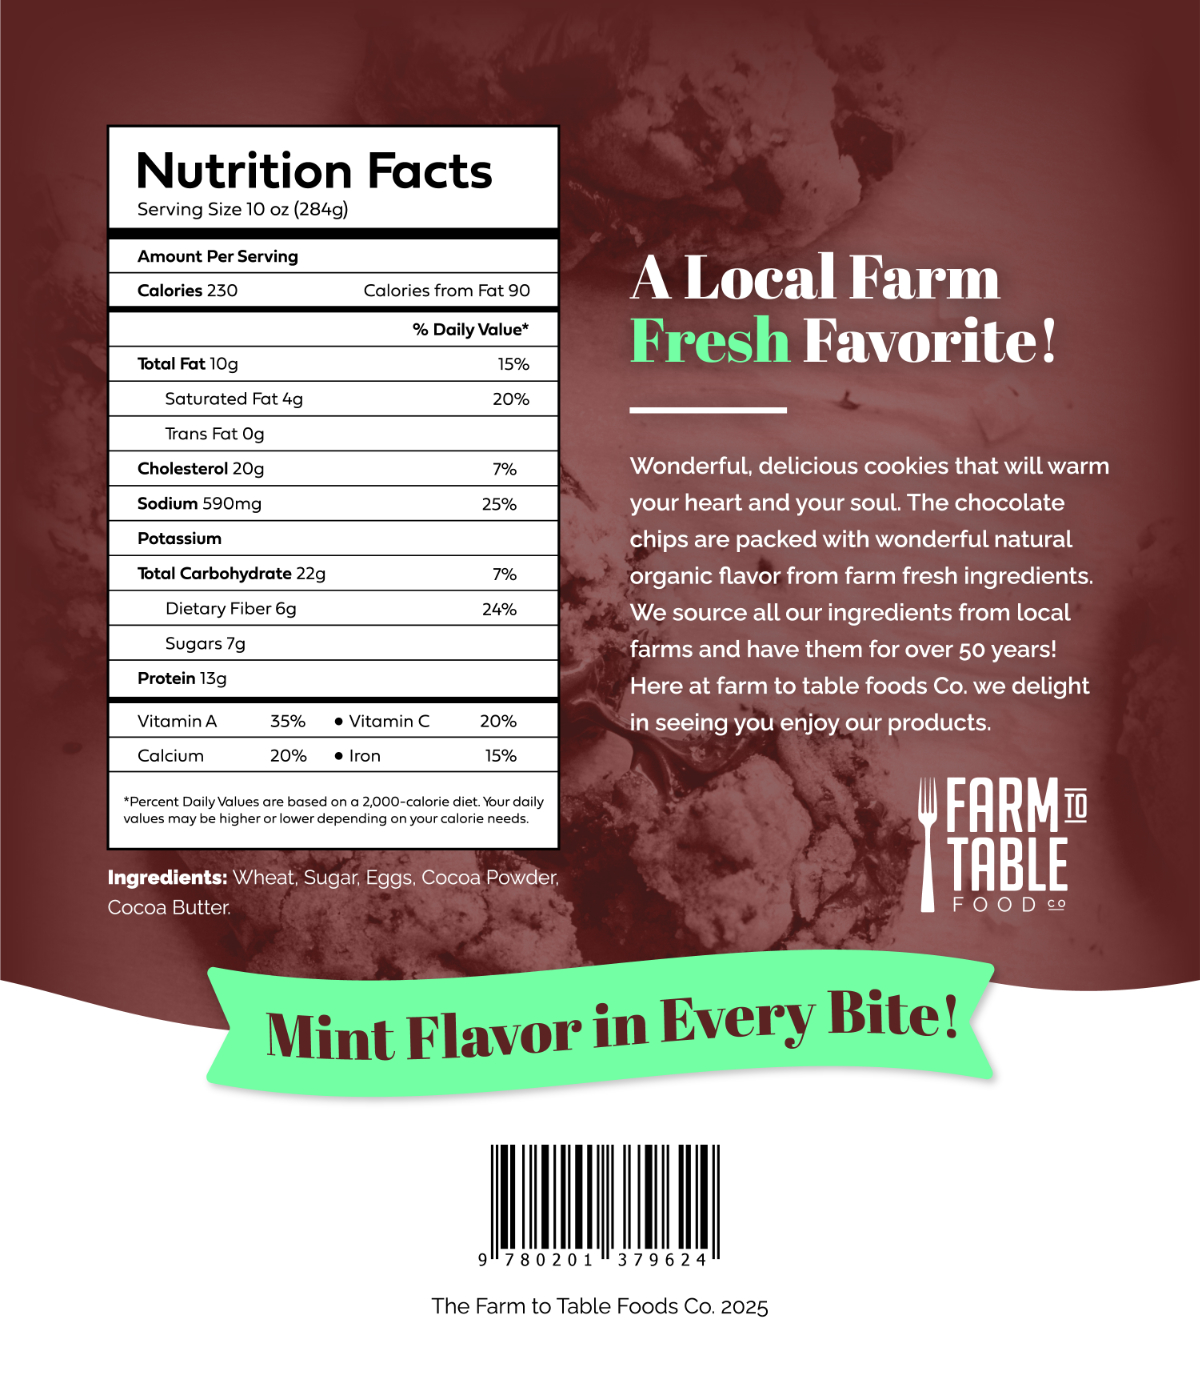
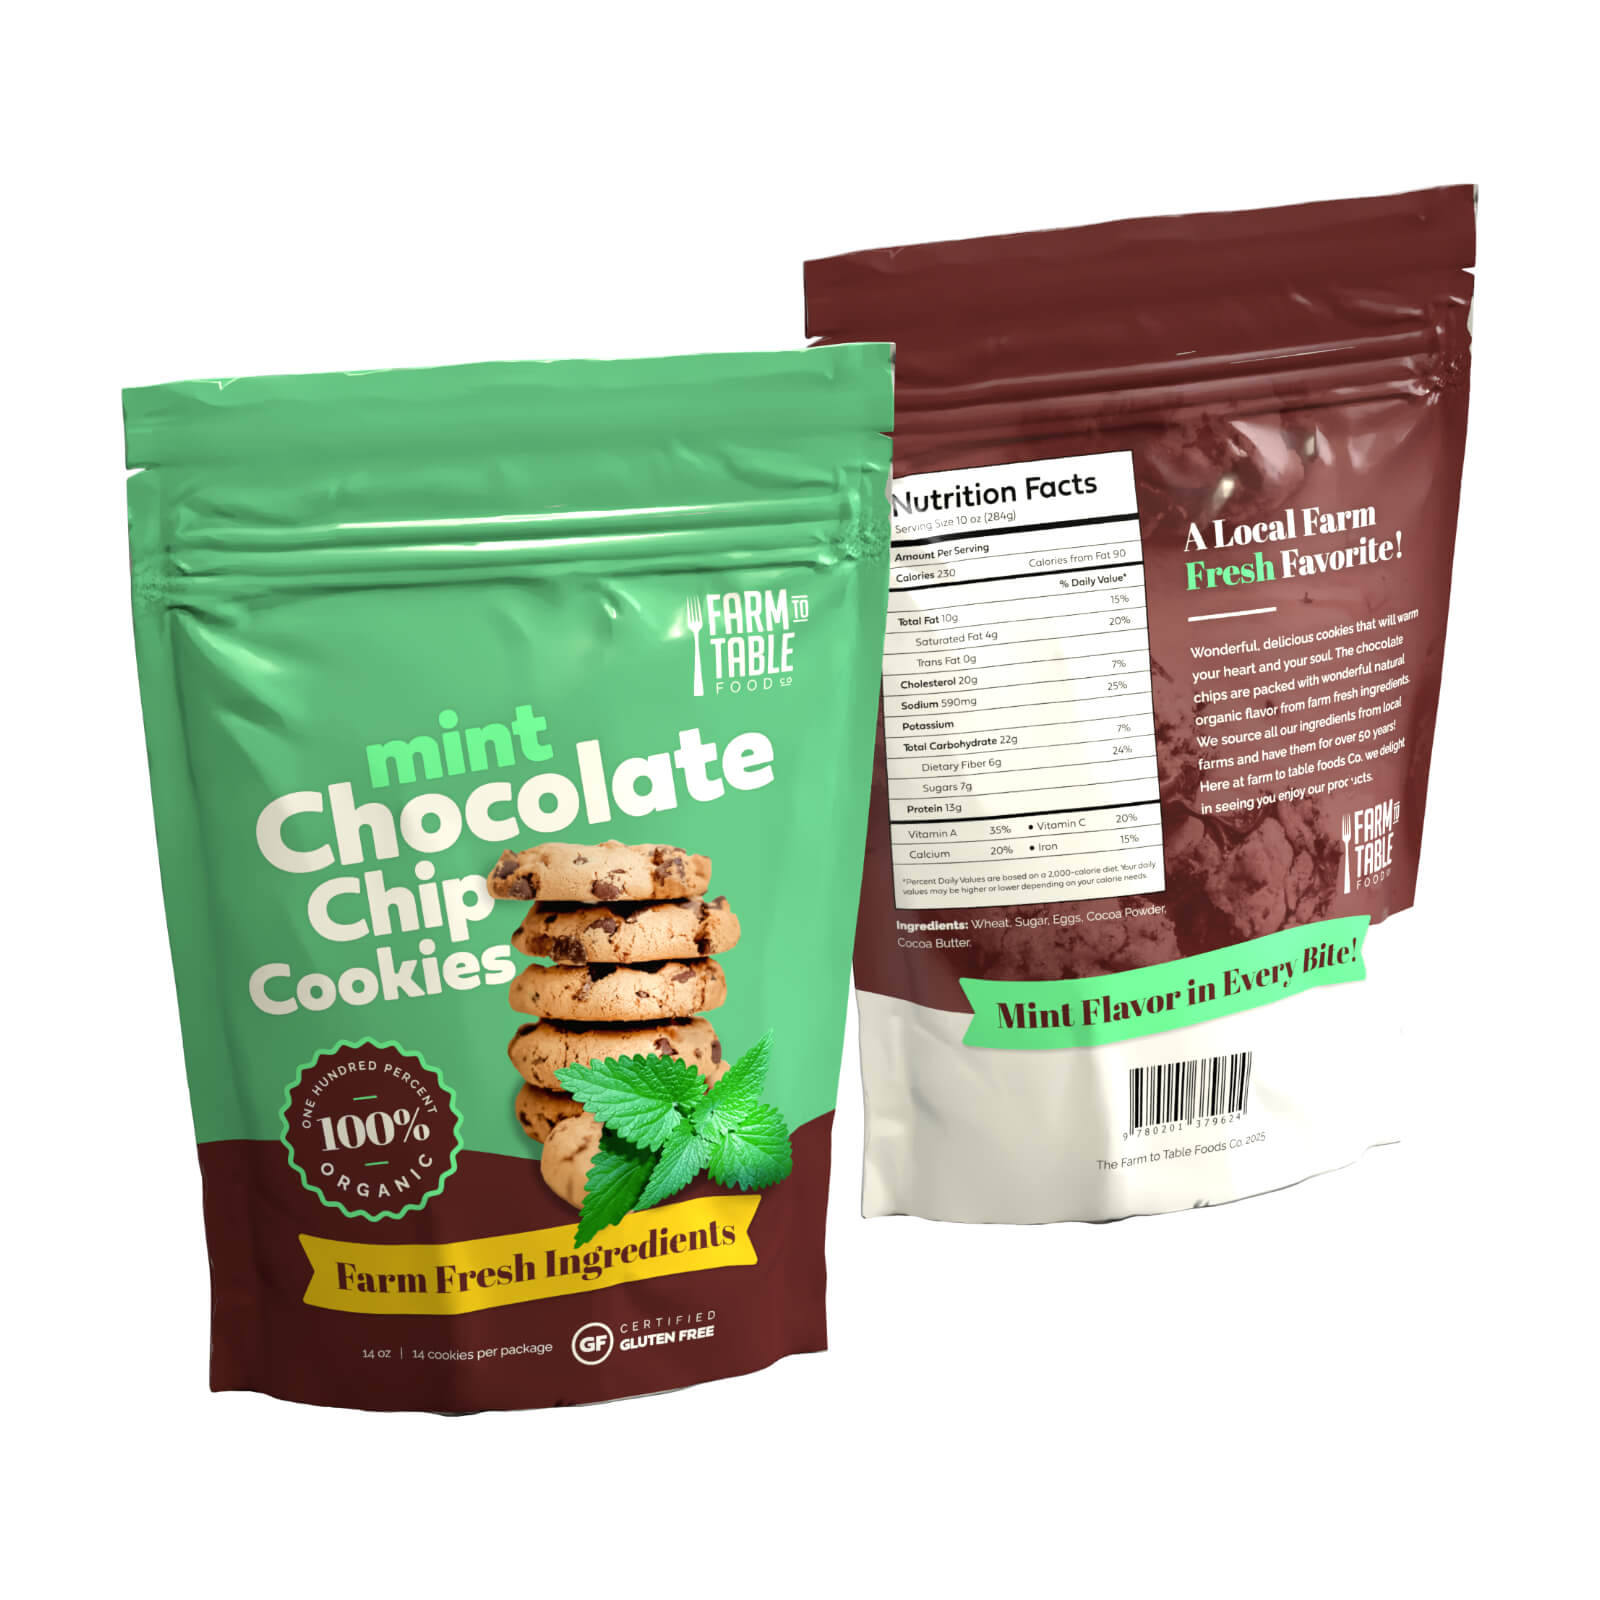
Once I finished the front design, I worked on the back, adding nutritional information, a description, ingredients, background photo of the cookies, shapes, the logo, and a barcode.
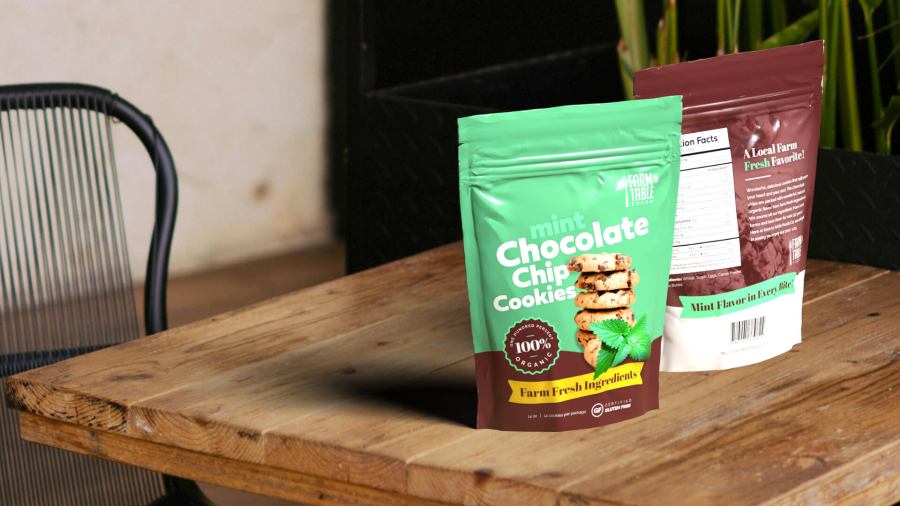
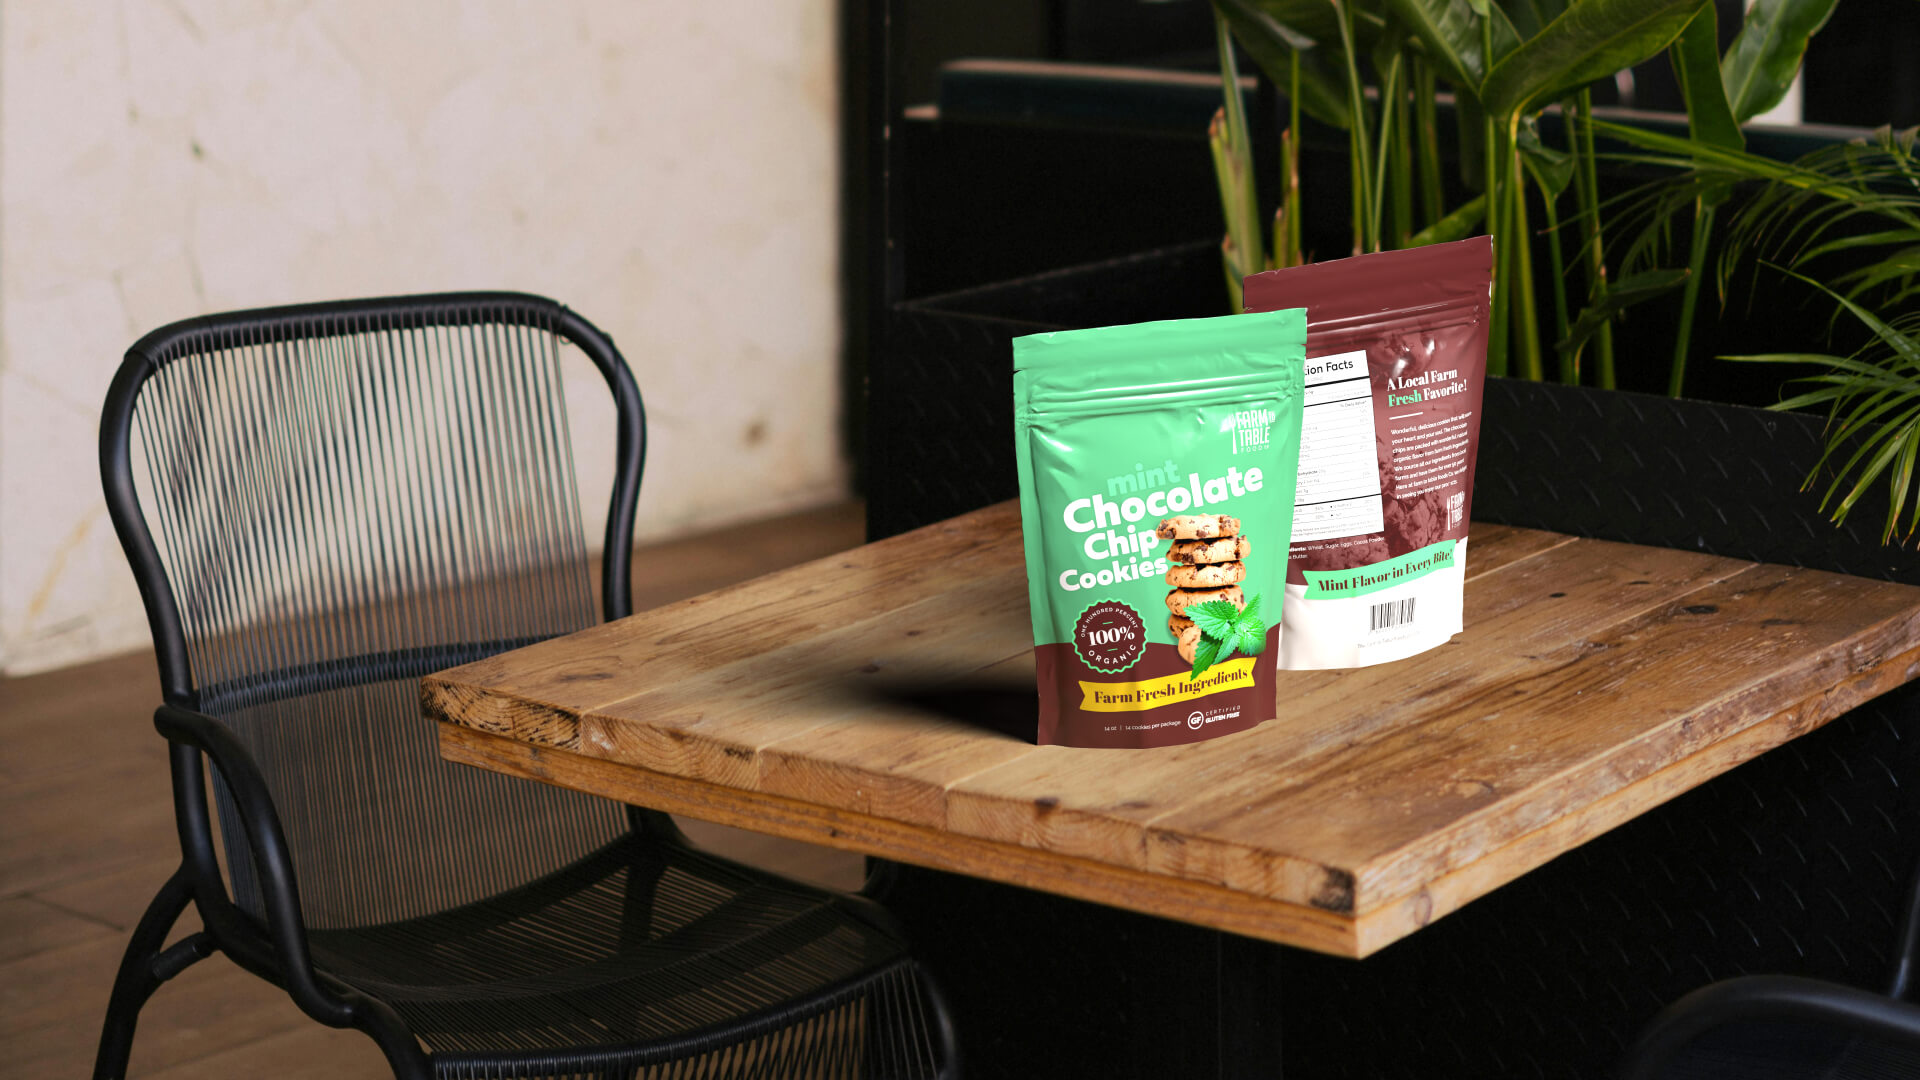
Finally, after completing the packaging design in Adobe Illustrator, I created a mockup using a 3D pouch to visualize how it would look in real life, using Adobe Dimensions. I was amazed by the result—I did not know this software before, and it is very practical. I will keep it in mind for future projects!
In conclusion, in this section of the course, I have learned a lot about design, including effects, keyboard shortcuts, font combinations, image editing, presentation, and more. Now I will start the next section!
More content coming soon!
Descubre más desde DrixPell
Suscríbete y recibe las últimas entradas en tu correo electrónico.
