
Course: Introducción al Modelado 3D con Blender
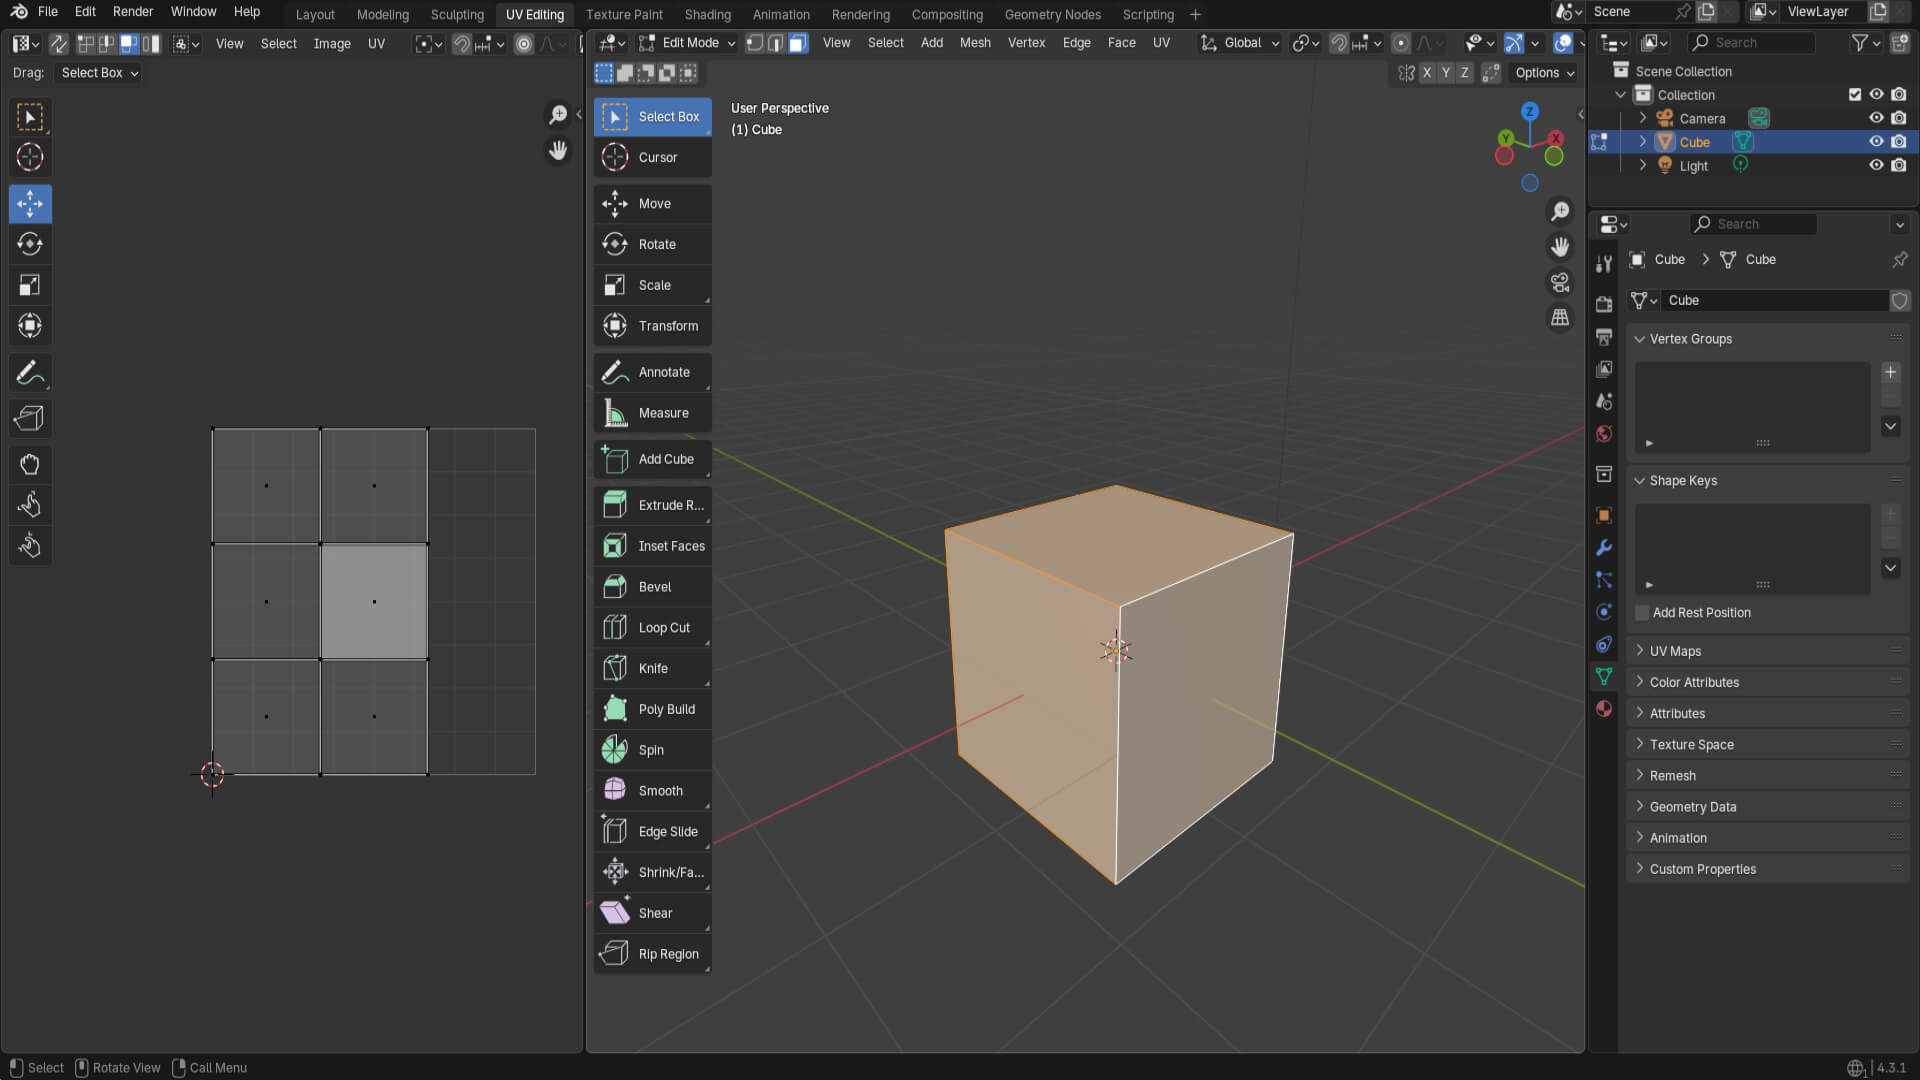
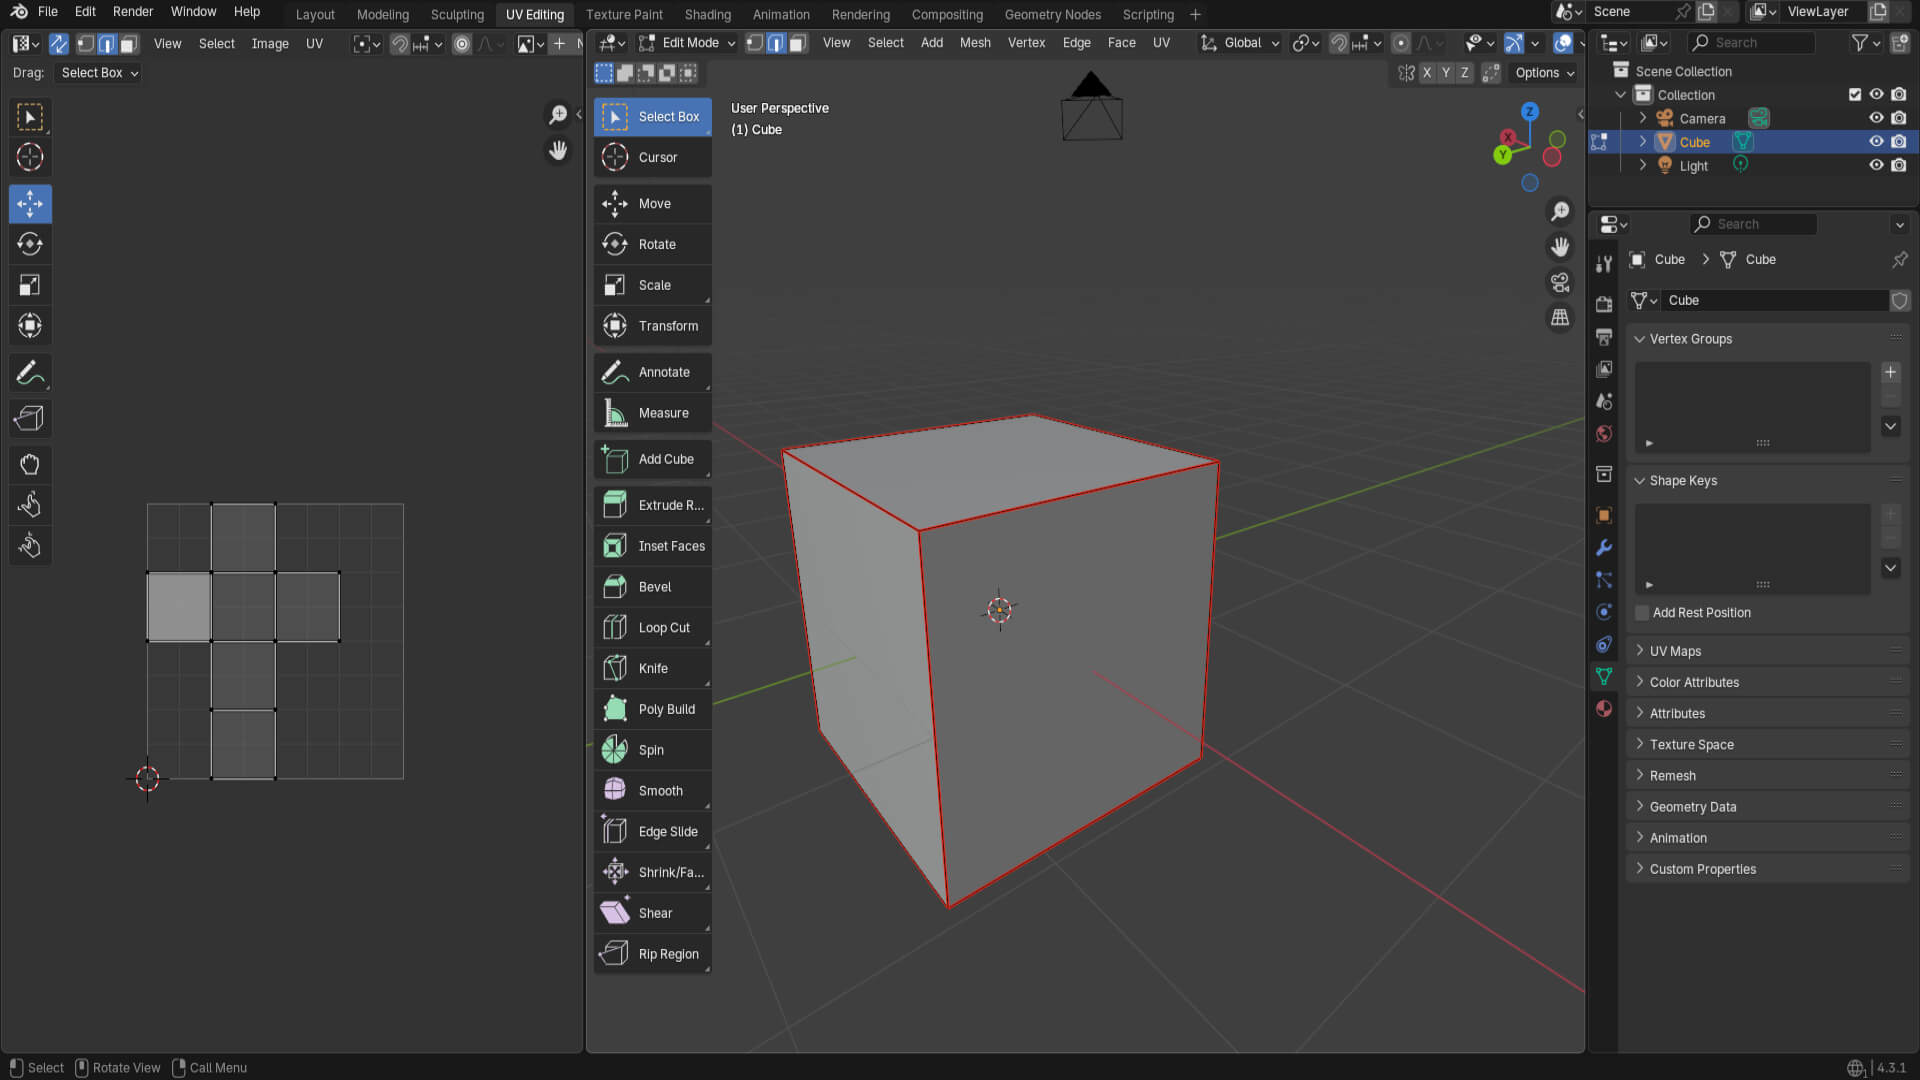
Continuing with the course, in this theoretical section, I learned to unwrap textures of objects, starting with a practical exercise of unwrapping a cube.
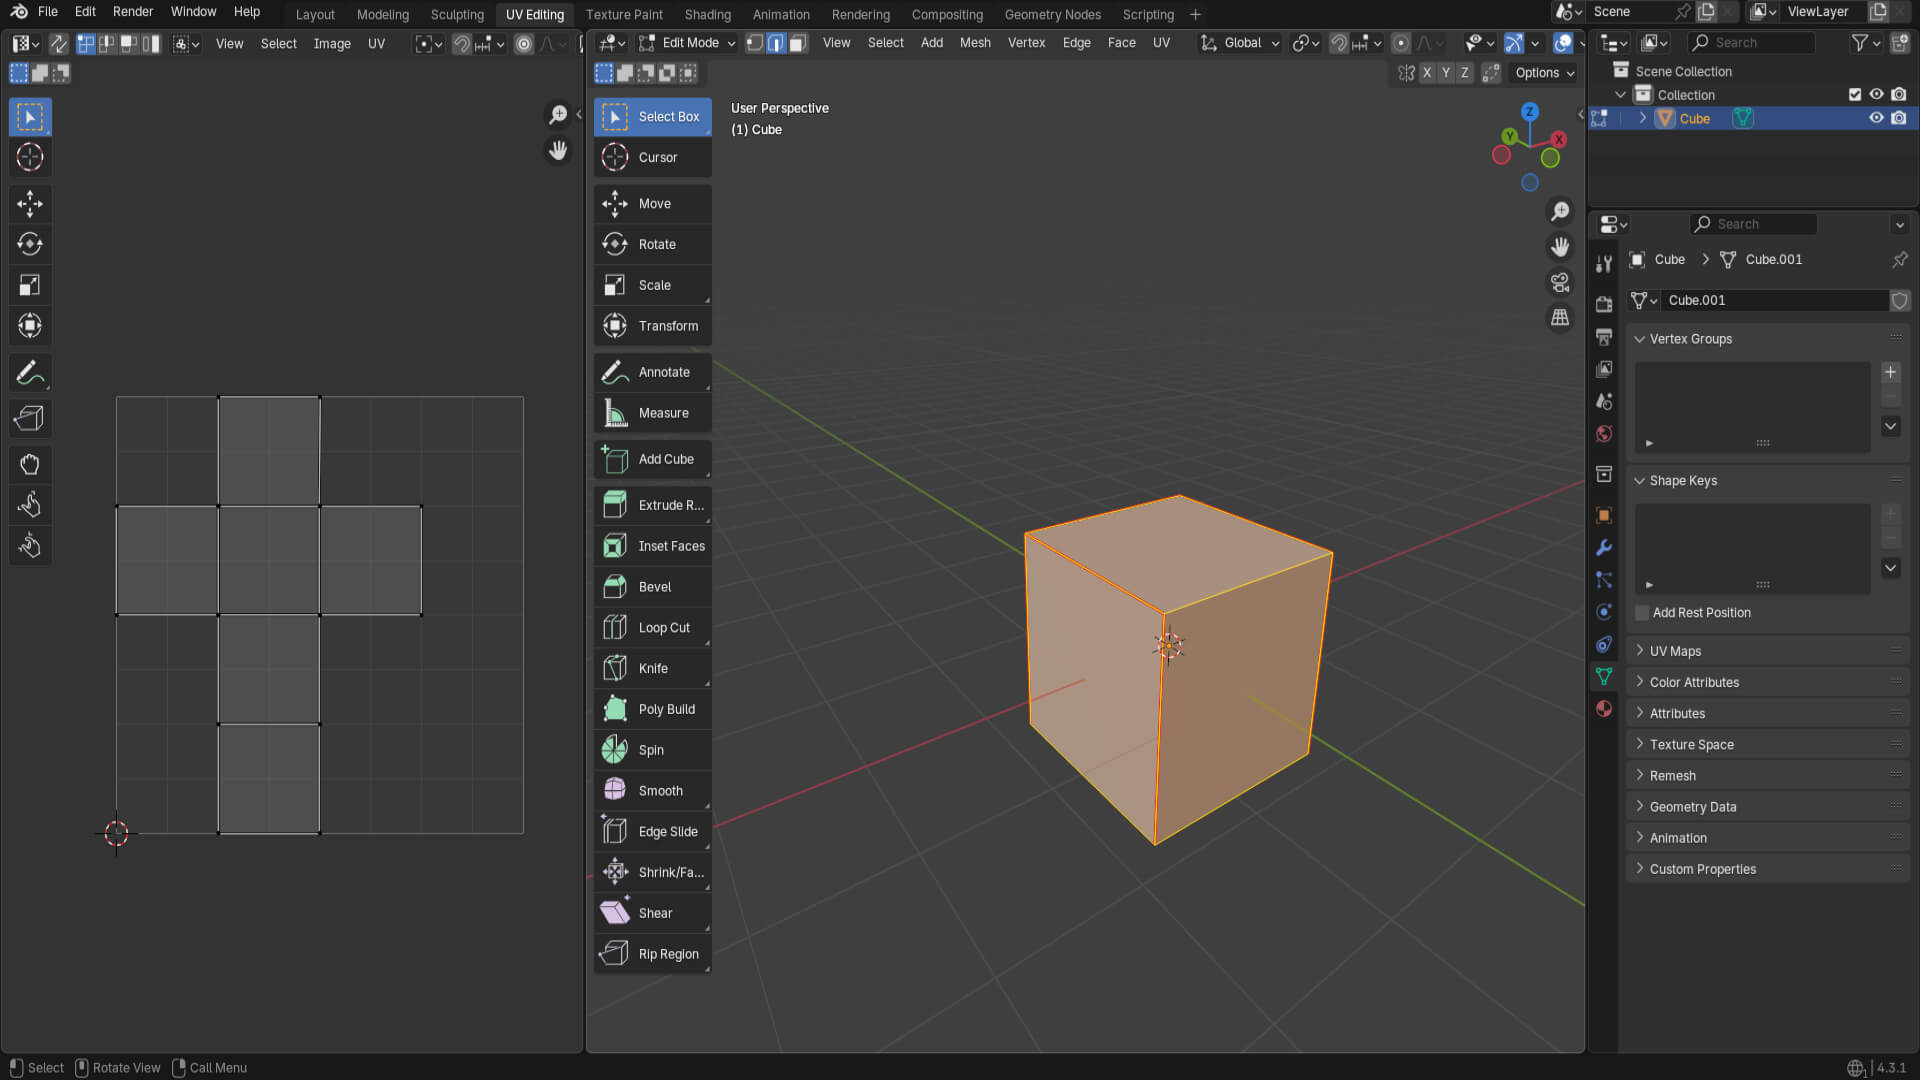
Then, I started learning the different cuts made to geometric shapes, the UV Editing interface in Blender, and how to stitch polygons in the texture.

Next, I learned how to unwrap a cylinder, apply a wood texture to an object and floor, and find websites that provide textures and materials.

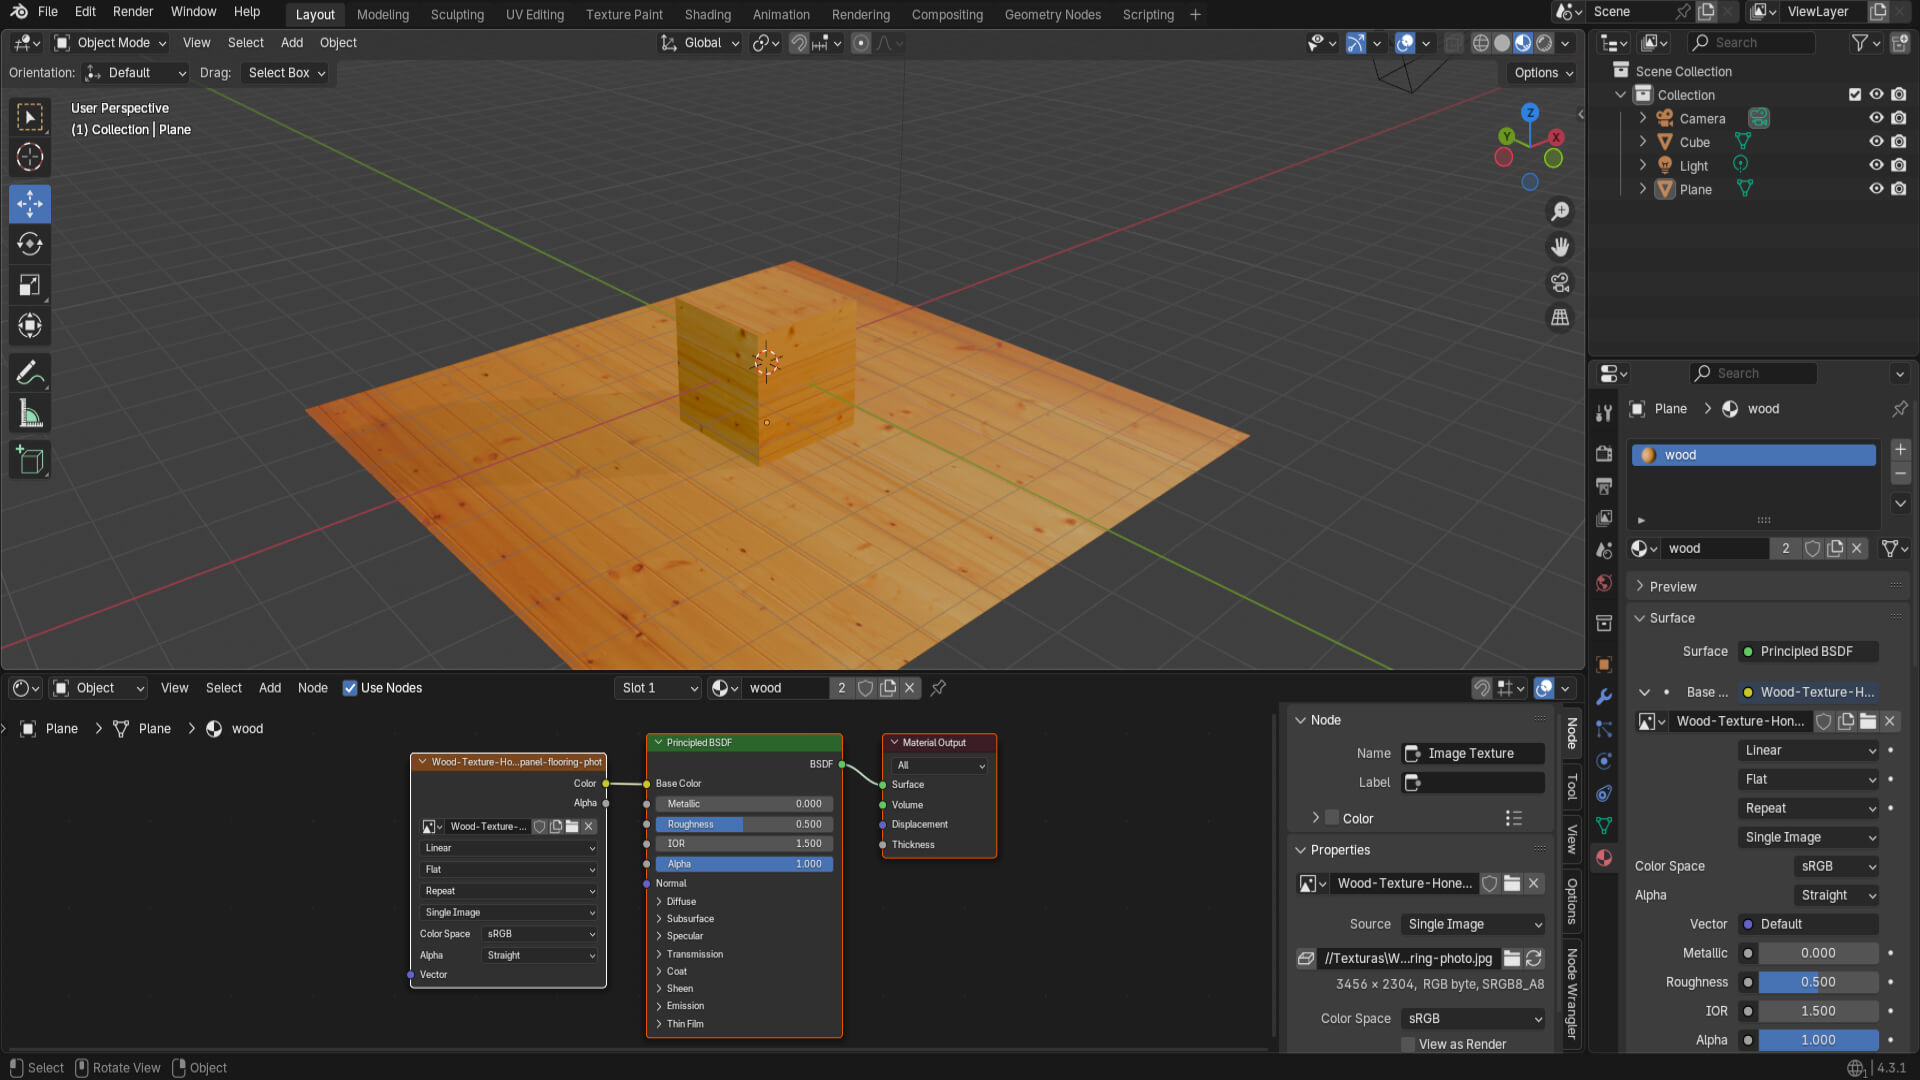
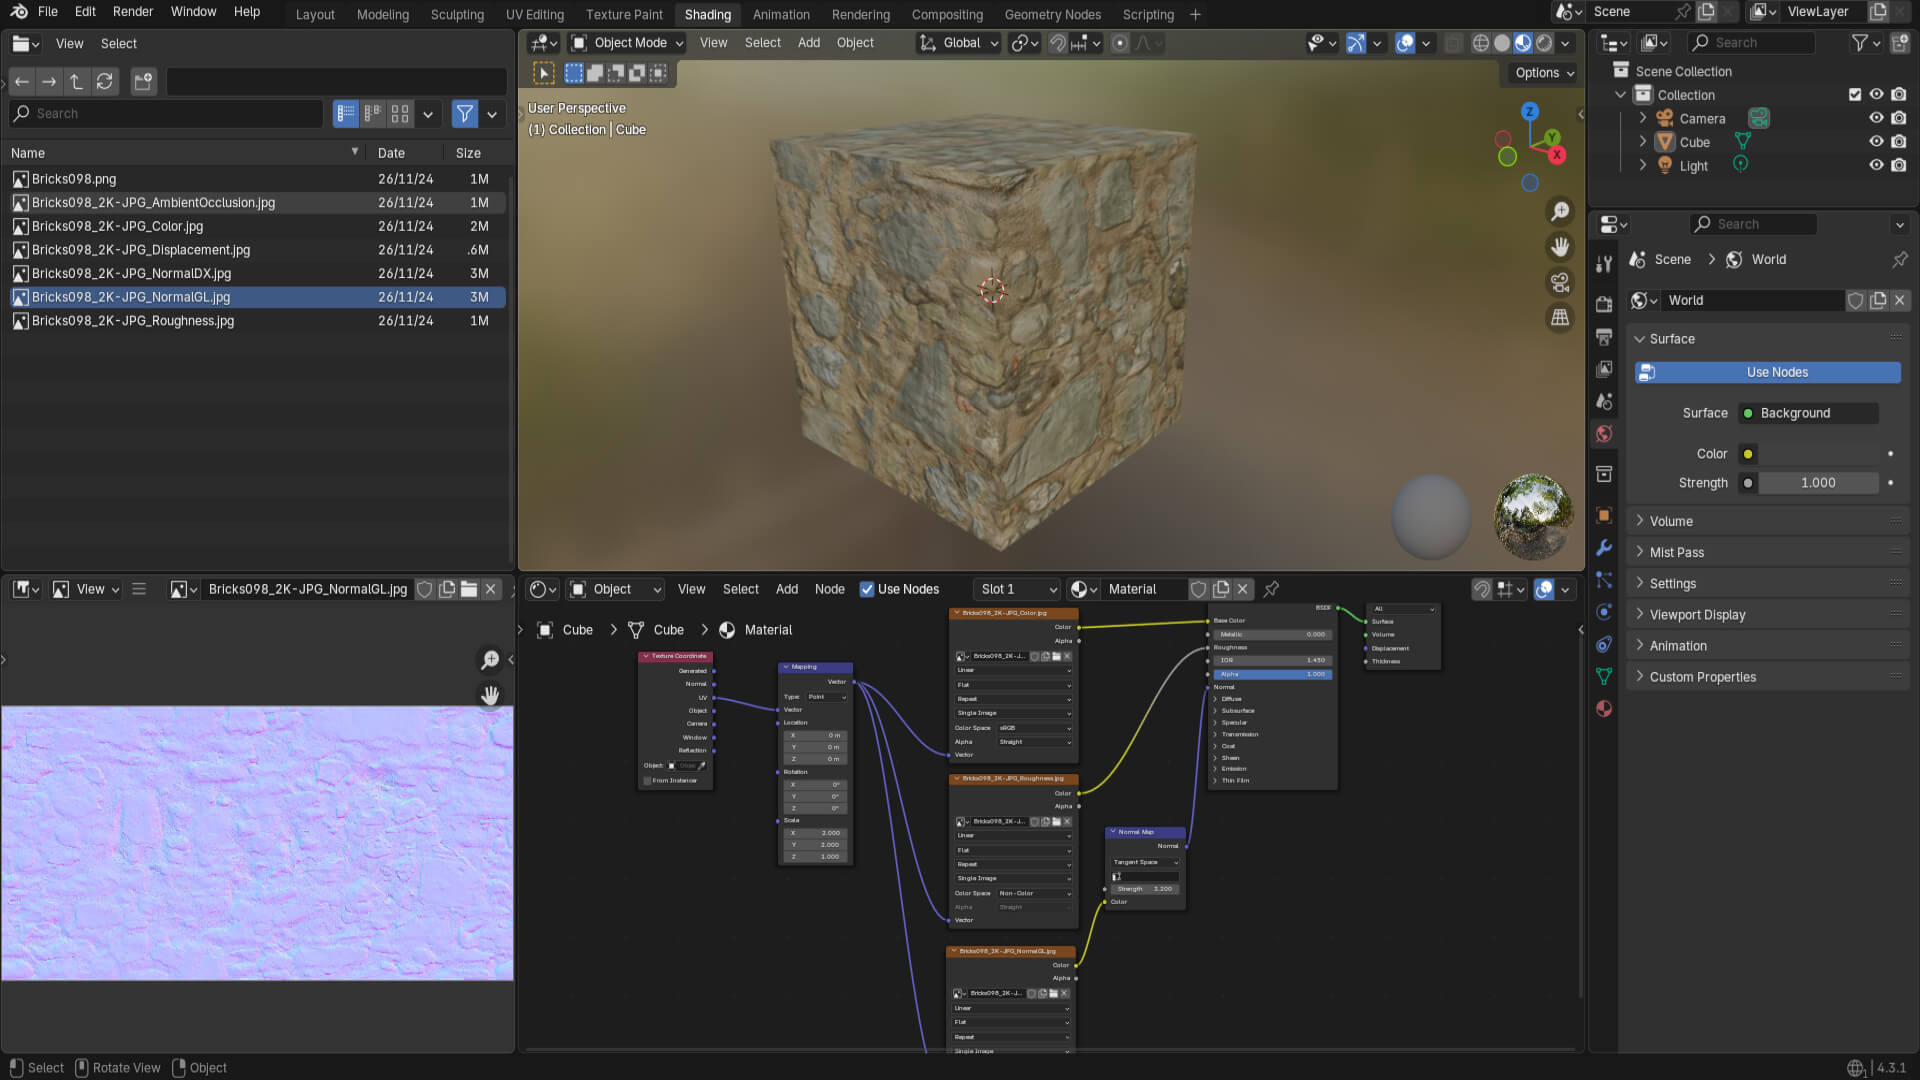
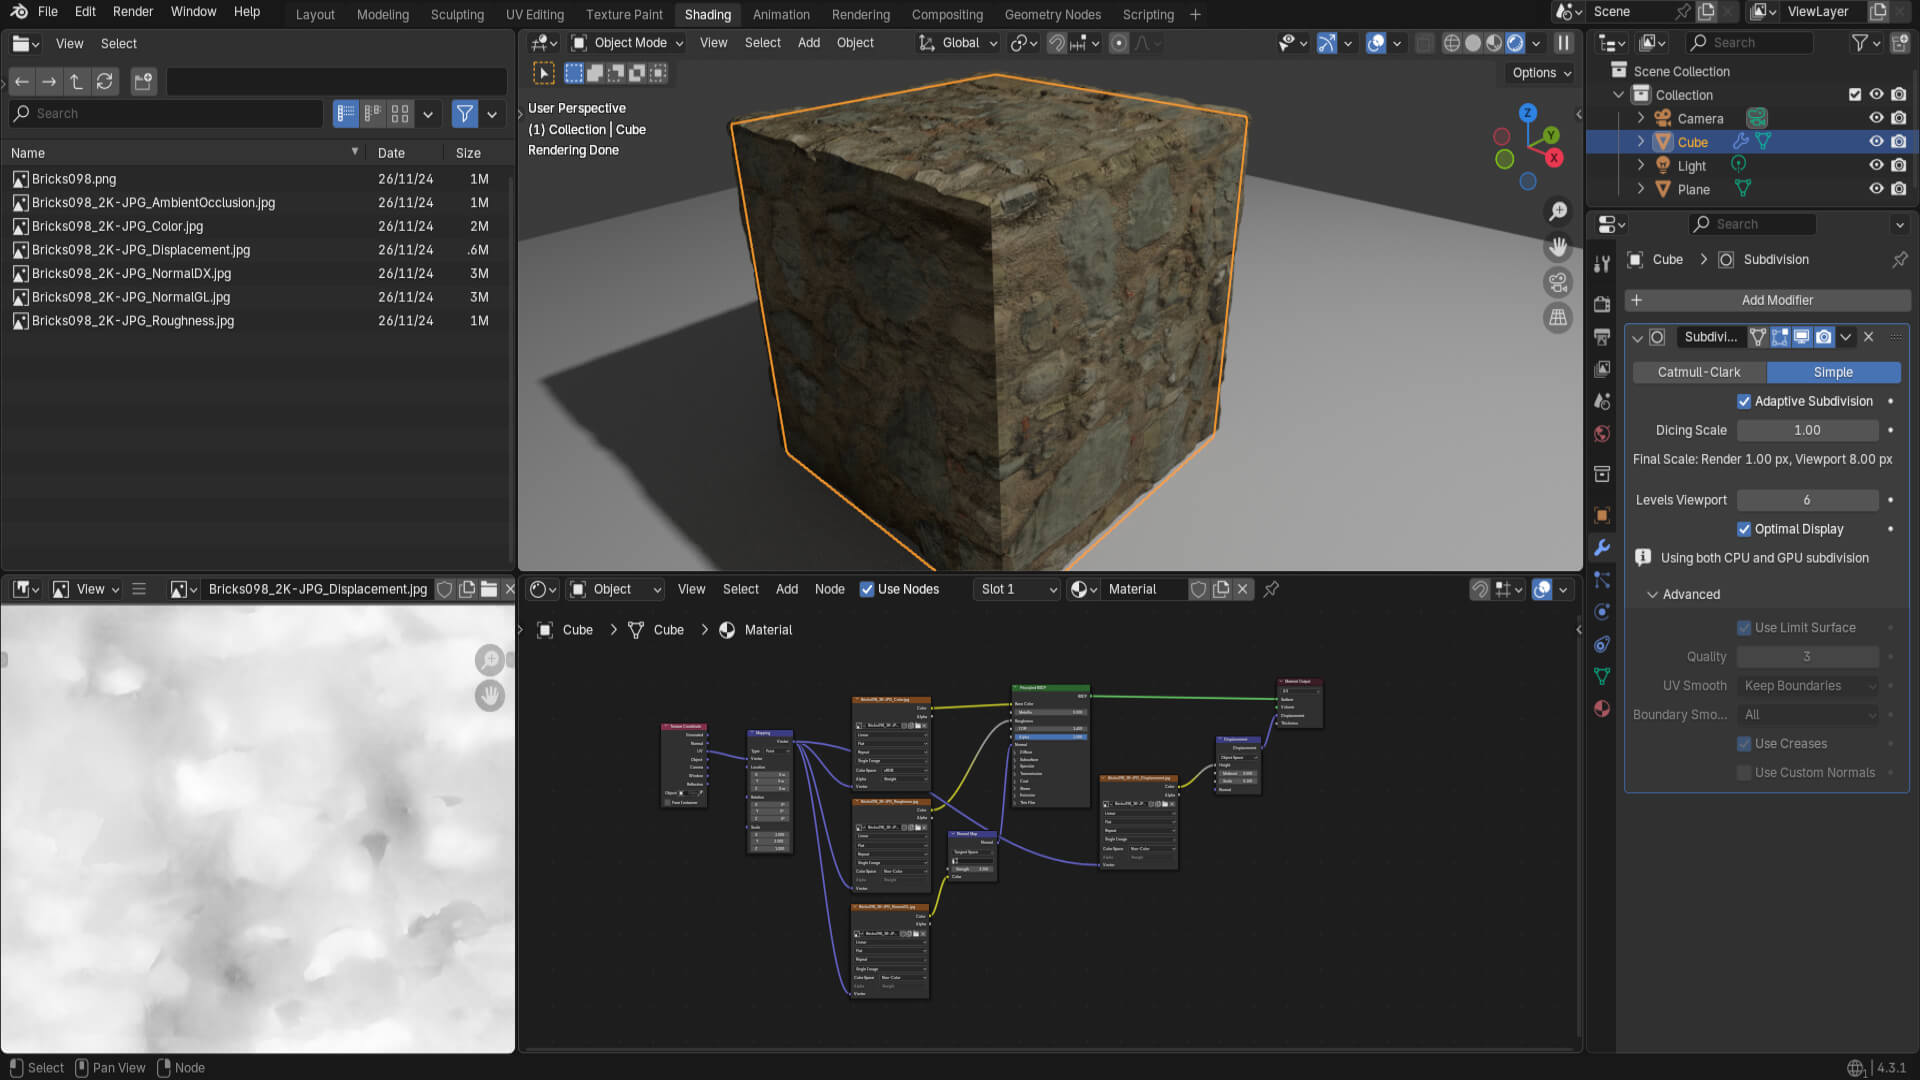
Lastly, and most important, the different layers that make the textures, such as Normal Map, Displacement, Ambient Occlusion, Roughness, and Color. By composing the texture with these, I was able to give volume and a realistic style, as in the case of this cube. To achieve this result, I had to experiment with Blender’s options, using ray tracing to achieve that effect.
Now, I will start the new section of the course, which will be about a textured diorama of a temple with mines, applying the knowledge from this section.
More content coming soon!
Descubre más desde DrixPell
Suscríbete y recibe las últimas entradas en tu correo electrónico.
